Project Sunshine, Part 4: The Services
2025-10-08
In this post, I’m going to explain my architecture as it pertains to networking and service discovery. In broad strokes I’ll outline some of my philosophy, and lay the groundwork for actually having real services running that I might want to use. So far it’s all been Linux and hardware and super low-level stuff, but I promise that we are getting somewhere. This will be the last entry in “Project Sunshine” for a little while. I am by no means finished, but after this I plan to write some articles that are more sharply focused on specific technical aspects as opposed to these rambling overtures. There are a few things I’ve done here that I think are particularly novel (or that I’ve fought particularly hard for), and I think they are worth sharing in a way that makes them easier to find. I will be returning to this series when I have something significant to write about with my server configuration: some new hardware, or my backup strategy loom as the likely next entries.
The Fleet
In addition to my home server, I am also running a small VPS to act as an edge node. This will be responsible for hosting everything that is exposed to the wider internet, such as this very blog, and my source code. This frees up my home server to be safely tucked away behind Tailscale on my residential connection. The VPS itself is hosted in Toronto with Vultr. I’m a new customer there, but so far I have only bombastic praise: I was able to supply my own cloud-init user data, they support configurable rDNS, their customer support is prompt. They have great region availability, and have been the lowest-friction host I think I’ve ever worked with.
My work here would not be complete without naming them. Both Tailscale and all laws of good taste require it. Please meet Orca and Plankton. Orca is the home server. Big and full of wisdom. Plankton is the smallest VPS I can get, and provably replaceable. (Plankton is in fact already on its third incarnation.) These are in keeping with a new marine theme I seem to have struck up: my home PC is called Terrapin.
Network Topology
As alluded to above, Tailscale is a really fundamental element of my infrastructure. All of my local networking is routed through Tailscale IP addresses. They are static for all time, they route directly, and it was super easy to set up. I’ve got all of my devices attached to it and I’m not yet paying them. Every feature I’ve needed has been no more than three clicks away. It works great, and I can’t imagine considering anything else for what I’m doing here. Having said that, this is still me we’re talking about here, so I was never going to stick with the defaults.
While it’s undeniably convenient, I found the Tailscale default TLD for nodes to be unsightly and restrictive. I plan to run multiple services and I want each of them to have separate domain names. While it would be nice if Tailscale supported subdomains, I’m kind of glad they don’t. It has allowed me to purchase perhaps my favourite domain name ever.
All of my internal services, all of my infrastructure nodes, all of everything that is not exposed to the internet is attached to the domain name max.plumbing. I bought this with my real money and it might be the best $80 or so that I’ve ever spent.
As well as pretty URLs, it was also very important to me to have TLS. A lot of apps and services warn if they are not running over TLS, even if (unbeknownst to them) they are running in an encrypted wireguard channel, and are locked inside a private network. I was also unwilling to deal with self-signed certificates. I don’t want to add a certificate to multiple isolated trust stores myself, let alone inflict it on somebody else I claim to care about. I use an iPhone, for crying out loud.
How are we to get all of these things done? Split DNS! Domain names are translated into routable IP addresses via a protocol called [the] Domain Name System. This protocol traces its origins back to a painstakingly maintained HOSTS.TXT file hosted at Stanford University, but is now a complex set of canonical servers and relays all over the world. When your computer makes a domain name lookup with DNS, it consults a specific DNS server — that is selected by either you or more likely your ISP — to find its answer. If that server doesn’t know, it passes it back up the chain, ultimately ending up at a server that says it is the authority on that domain name. The server that gets to be the authority is actually centrally maintained in a public database of domain names, indexed by the TLD, or top level domain. That’s your .com, .net, or even .plumbing.
Since we can select our DNS server, it is possible to override the DNS lookup process within a specific private network. This includes a Tailnet. Tailscale by default does exactly this to resolve its machine names, but they also provide an option to add other overlay servers to the chain. This technology allows me to provide public DNS records for max.plumbing, and an altogether different set of private records for anyone within my Tailnet. We can use the dig utility to demonstrate this:
mpwb@orca:~$ dig A orca.max.plumbing +short
100.x.y.z
mpwb@orca:~$ dig A orca.max.plumbing +short @9.9.9.9
155.138.139.214
With this one weird trick, I can have a completely different service graph exposed to my private network, while still having a public resolution for anything I wish. Right now I use that for TLS certificate verification. My private server is able to solve ACME challenges from Let’s Encrypt by having the HTTP challenge requests be proxied down to it by Plankton.
The actual DNS server I am running is called CoreDNS. It was really simple to set up, and configuring it in Tailscale was an absolute doddle. I am using Ansible to configure it all, the meat of which is visible here.
To handle TLS connections — and to proxy all of my HTTP/S requests to their final destinations — I am using Caddy. It builds TLS support in, and is alarmingly simple to configure. I remember when Nginx was the new kid on the block, and people praised its human-friendly configuration format compared to Apache. Caddy feels like still another leap forward. It automatically rewrites all insecure requests to HTTPS, and it handles the generation and renewal of TLS certificates.
Interlude: ACME
Automatic Certificate Management Environment, or ACME is a protocol that came up about a decade ago that has since revolutionised the process for facilitating encrypted web traffic. It used to be that to serve encrypted traffic over TLS, one had to procure a certificate from a certificate authority for some significant fee. These would have validities generally measured in a single digit number of years. That certificate would then have to be configured in your server and kept safe. Then, in 2016, The Internet Security Research Group launched Let’s Encrypt: a service that would give you certificates for free! The catch was that they were only valid for three months or so. This would be inconvenient to the point of being onerous under the traditional model, but the strategy here was to force people to automate their certificate management.
Having fewer people and shorter life spans for secrets are obvious boons to information security. Since then, numerous ACME clients to automate this process of creation and renewal have cropped up. While all the major web servers now integrate an ACME client, Caddy was the first to do it.
To obtain a certificate from an ACME authority, you need to perform some kind of verification to prove that you do indeed own the domain you are trying to certify. Under ACME, there are two primary methods: HTTP-01 and DNS-01. The former requires you to host some specific file at a provided URL, whereas the latter prescribes specific DNS records that must be publicly readable.
Given the inaccessible nature of Orca, I originally set up DNS-01, using a custom build of Caddy that integrated support for my DNS provider of choice, deSEC. Caddy would receive the challenge and use deSEC’s API to set records. However, this all got screwed up with my split horizon DNS, and I then resorted to HTTP-01 verification. At that point, I had to set up Caddy on Plankton to proxy these requests through. That worked perfectly!
I’d like to shout out a particular feature of Caddy here. I went through a lot of iterations while developing the elegant and straightforward process I described above. One early version involved using HAProxy as the front end and having a wildcard TLS certificate provisioned by Lego (a standalone ACME client). In setting this up, I ran afoul of Let’s Encrypt’s rate limits for setting up certificates, and found myself blocked for a week or so. This was bad and I don’t recommend it. I didn’t end up here through mistakes in configuration, it was because I was testing this setup in VMs that I would then blow away. So, a different kind of mistake. Let’s Encrypt has pretty harsh rate limits to ensure that misbehaving ACME clients are found out early, before failure to obtain a certificate can do any real damage. To protect fools like me from themselves, they also provide a staging certificate authority that can be used for preflight. If only I’d known about this beforehand. The feature of Caddy I’d like to shout out is that if it is unable to provision a certificate, for any reason, it automatically retries against Let’s Encrypt’s staging CA until it succeeds. I didn’t again hit their rate limits, even when I had tied myself in a hopeless knot with my DNS.
We now have our servers, and we have a general idea of how they are connecting. The missing piece is how we are going to actually deploy services.
Containerise Some of The Things
I adore containers. Docker came out at the start of my career, and it was one of those things that felt like magic for me once it clicked. It caused me to revisit Linux (for the first time) just to get near-native speeds with VM-like isolation. Some of the most enlightening moments of my early career were reading things like Jessie Frazelle’s blog, or learning about the jailbreaks that people were constantly finding and fixing.
Still, Docker is not without its issues: it requires a daemon to be running as root. It’s been a while since I heard about a serious jailbreak in Docker, but that’s still a fair bit of surface area risk! I’m also still a little bit wary of running things like databases in containers. I don’t know if that’s still the best advice or whether it’s vestigial FUD, but it gives me the willies.
Fortunately for me, in the decade or so since Docker launched the Open Container Initiative, there are other options. The option among those that is particularly interesting to me is Podman. It provides a mostly Docker-compatible API, but runs without a daemon, and can run without root access.
Interlude: What’s a Container?
To understand containers, I feel like one has to first understand VMs.
Inner Interlude: What’s a VM?
Computers are typically made up of software that runs on hardware. The device on which you’re reading this (unless you printed out, in which case baller move) probably matches this description. As I wrote in my last post, hardware is backed by software called drivers that know how to physically interact with it. The operating system boots up and uses common, shared, and pre-agreed-upon interfaces to interact with these drivers: block devices, character devices, and suchlike.
But we can implement those interfaces in software! We don’t have to have real hardware backing those things. A hypervisor is a piece of software that implements in software (or proxies access to) every piece of hardware an operating system needs to boot. This allows you to run a “computer” on virtualised hardware, ideally completely isolated from the actual hardware itself. My edge server Plankton is a VM, running on some giant server in some data centre.
Virtual machines always carry some kind of overhead, and depending on what you need to do, it can be significant. It is possible to mitigate many of these by giving direct access to some things, like storage devices or sections of RAM. However, this carries tradeoffs in resource consumption.
What if we could run something like a VM, but without pre-empting resource allocation or paying a hefty performance penalty?
Well. I’m so glad you asked. And I promise we will get to that, but we have to talk about the history of multitasking first. I swear it’s relevant.
Inner Interlude 2: A Brief History on Multitasking Kernels
As I write this, I have a Lofi Girl stream playing in the background; I have Wikipedia open in one window; I have the textbook Operating Systems: Three Easy Pieces in another. A quick scan of /System/Library/LaunchDaemons lists 419 services that are provided by Apple and considered essential to even run my computer. Our computers are doing hundreds of things literally all the time. That was not always the case.
In times of yore (like the 1950s), we had computers. Albeit slow and expensive, but definitely things we would recognise as computers by modern standards. One large deviation from modernity was in their approach to multitasking. If you needed to use a computer, you had to rent time on it! And then your thing would run, and then you would collect your results and let someone else have a go. There was a clear need to streamline this, to empower computers to do more than one thing at a time.
An early approach to multitasking was known as co-operative multi-tasking. This required that programmes cede control back to the operating system when they were able to, so that something else could be scheduled, and control later given back to the original process. This saw widespread adoption, including in early versions of both Windows and Mac OS. Despite that adoption, it is pretty clear in hindsight that it was only ever barely sufficient for the needs of the era, let alone the demands we make of our computers today. We didn’t have to wait very long, though: something better was just around the corner.
The late-1960s saw the development and release of a new operating system: Multics. Multics is the first time we saw an implementation of pre-emptive multitasking, which takes control of when to start and stop programmes from the programmes themselves and reserves that right for itself. This requires the ability to “interrupt” a running process, and sure enough Multics is the first time that we see the modern notion of software-driven interrupts (as opposed to the extant hardware-level interrupts of the time which allowed a programmer to halt execution of a programme, or to restart it once they had supplied input or read output). We still use this term to describe the same thing today. This powerful idea was a stepping stone to even more sophisticated notions that arose in successors to Multics, as we will see.
Through the 60s and early 70s, the folks at Bell Labs were developing the early versions of Unix. Unix is notable for a great many things, but today I want to focus on the concept of the process. A process is an abstraction of a running programme. A process presents a consistent view of low-level machine state: registers and memory to a programme that is running. This wrapper combined with interrupts gives us the building blocks for still more powerful features to delegate process management to processes, and giving us the idea of the process tree. In Unix, these primitives (still today) are called fork, exec, and wait.
These features themselves are a form of virtualisation. And the trend thereafter has been to virtualise basically everything. Memory access is virtualised and addresses are translated. Storage and other syscalls access runs through mandatory access control layers. This is done not only for security, but also to preserve the lie that we have access to an entire machine. Modern computers are incredibly complex. In fact, they contain more complexity than one could reasonably expect any programmer to hold when they want to build whatever new front-end to ChatGPT they’re expecting to become the next unicorn. The modern operating system’s built-in virtualisation is essential to how we understand and imagine computers to work today.
Interlude: Okay, what’s a Container?
With all of that backstory out of the way, we find ourselves without too much work to do. The modern kernel is a virtualisation device by design. The only thing we need to do now is convince it to lie about what else is going on on the computer. That’s what kernel namespaces do, and that’s how containers work. A container is basically just a collection of namespaces around a kernel’s existing virtualisation features.
For example, while running bash in my shell, I can use the $$ variable and the $PPID variable to see my process ID, and my parent’s id:
mpwb@orca:~$ echo $$
429982
mpwb@orca:~$ echo $PPID
429978
mpwb@orca:~$
However, using a Linux kernel feature known as namespacing, I can run a process that maps a process ID on the host to a different one in the container. To see this in action, we are going to start a container using Podman:
podman run -it --rm quay.io/fedora/fedora:43 bashWe now have a contained Fedora 43 installation, which is distinct from the Fedora 42 installation on the host. One difference is that btop is not installed. Let’s install it so that we have a long-running process that can be inspected:
bash-5.3# dnf install -yq btop
bash-5.3# btop --force-utf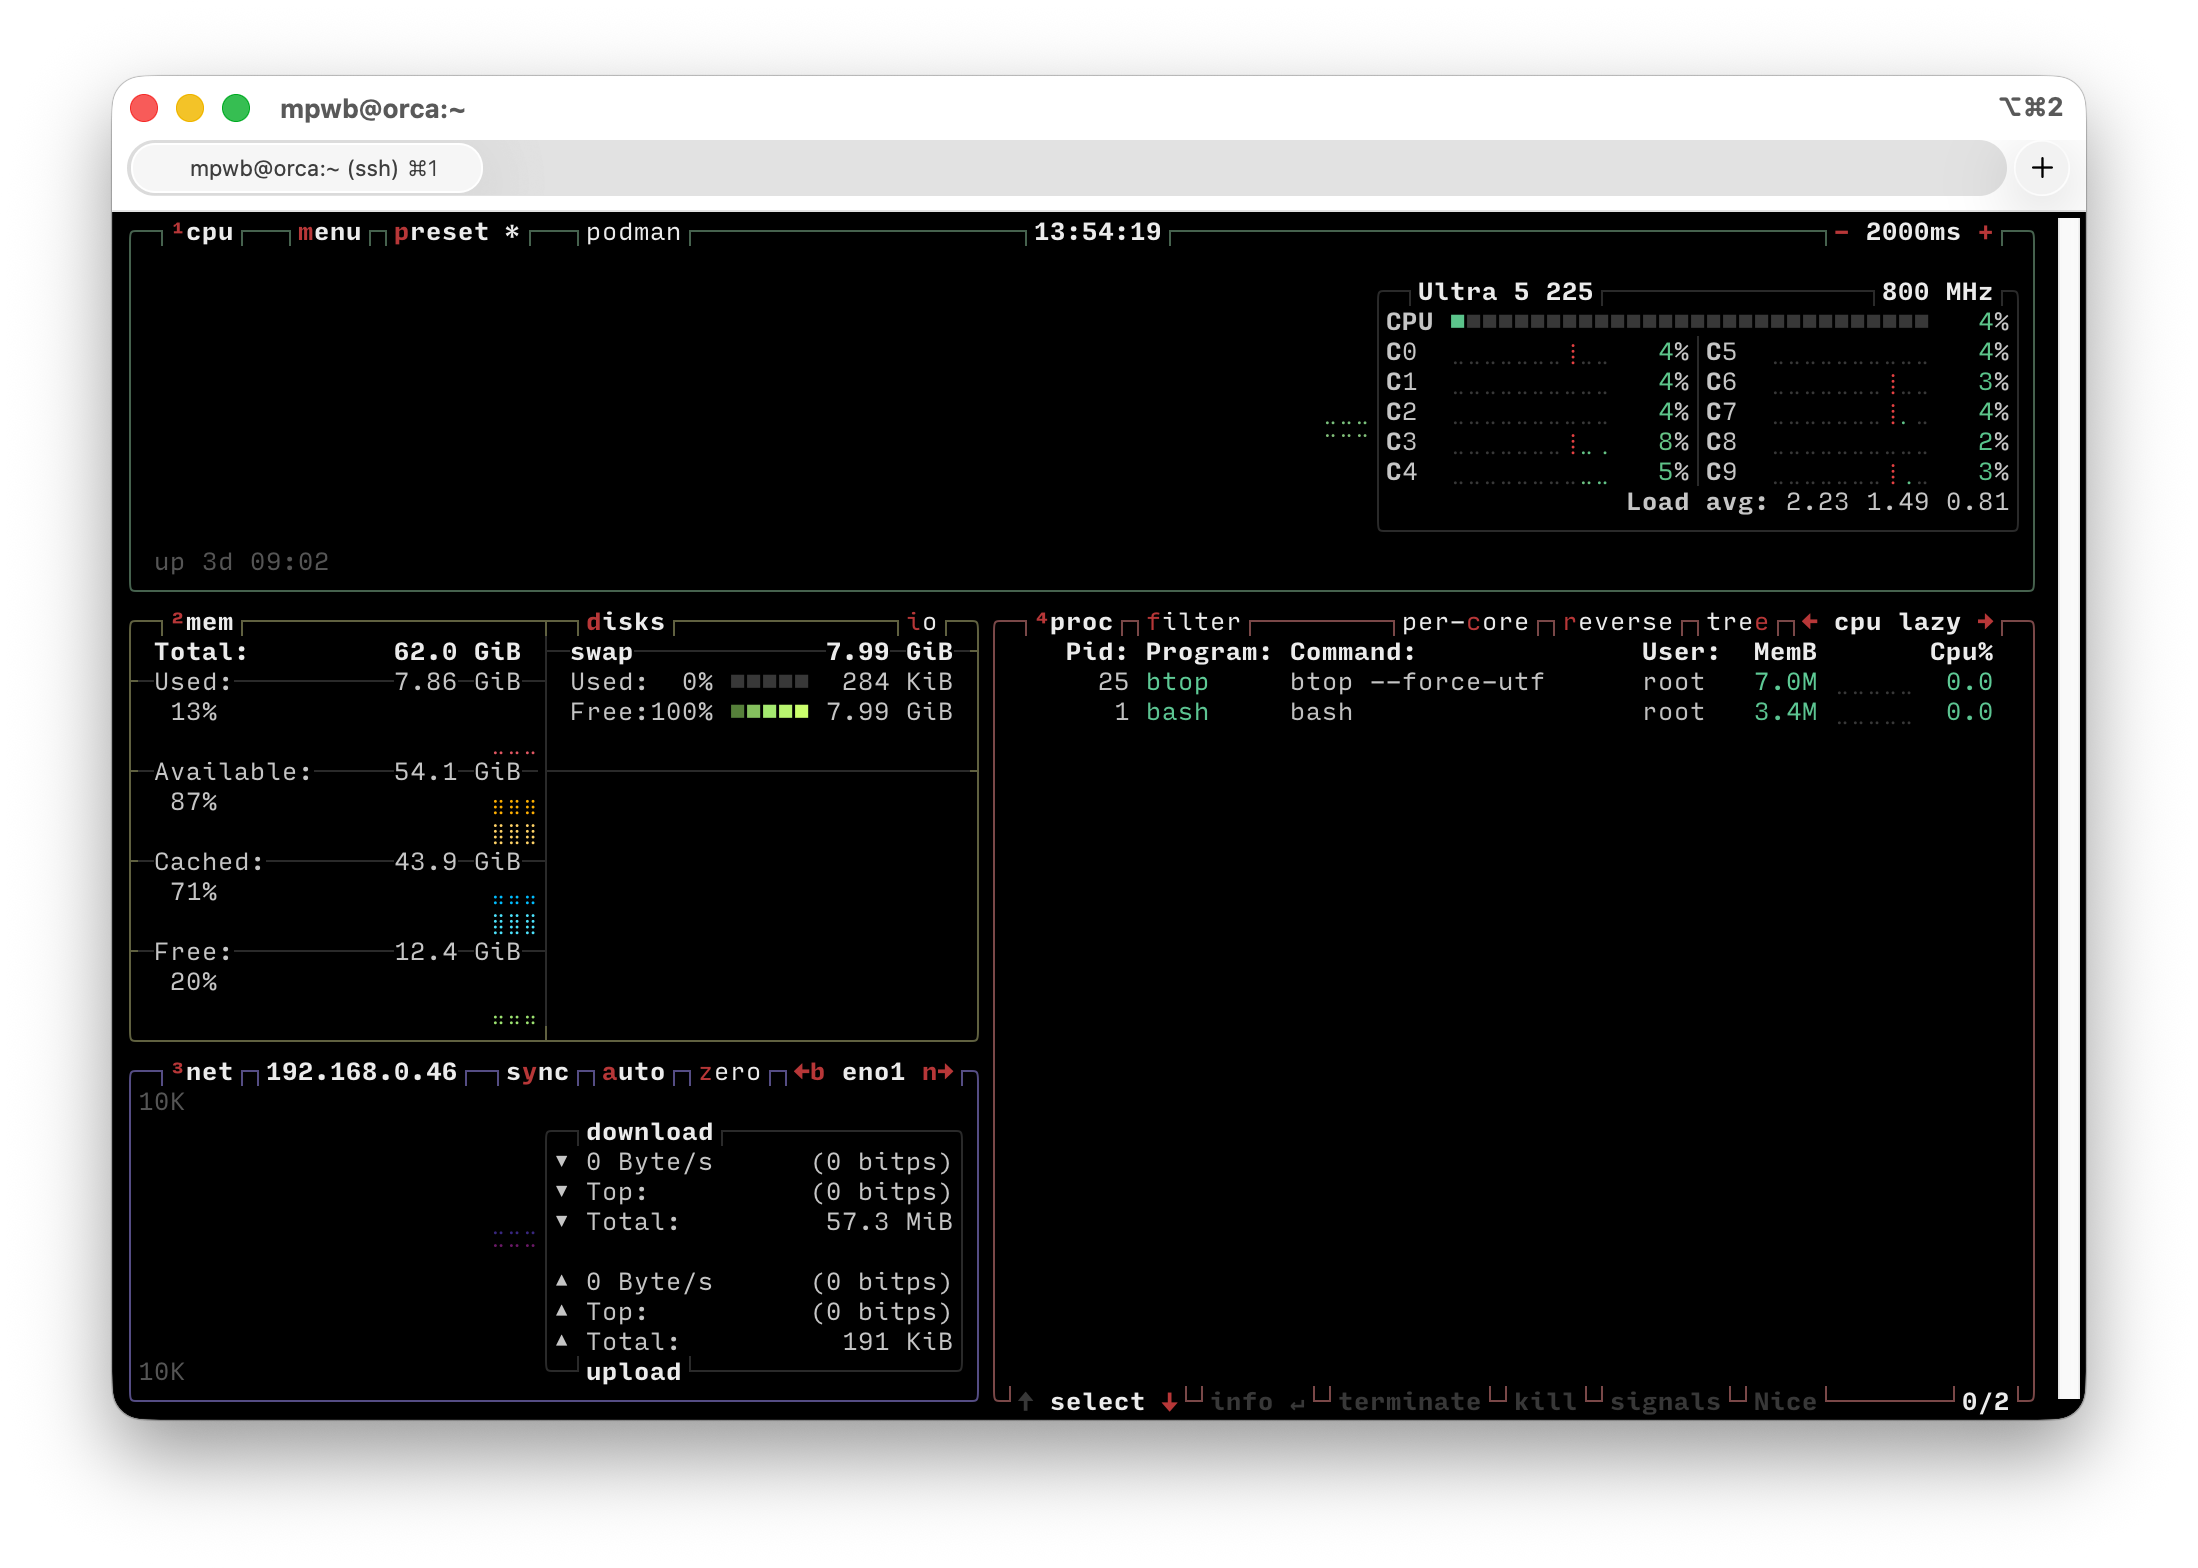
Right off the bat, there are some things that stick out. bash is running with PID 1, and btop is running with PID 25, and nothing else is here. That’s clearly not the case on my host, where it is very clear that the root process is Systemd:
mpwb@orca:~$ ps -p 1
    PID TTY          TIME CMD
      1 ?        00:01:39 systemd
We can inspect this a little bit further. Let’s look at all the processes I am currently running:
mpwb@orca:~$ ps -u "$(whoami)"
    PID TTY          TIME CMD
 429961 ?        00:00:00 systemd
 429963 ?        00:00:00 (sd-pam)
 430047 ?        00:00:00 catatonit
 430058 ?        00:00:00 dbus-broker-lau
 430059 ?        00:00:00 dbus-broker
 431356 ?        00:00:00 sshd-session
 431357 pts/1    00:00:00 bash
 431611 ?        00:00:00 sshd-session
 431612 pts/2    00:00:00 bash
 431820 ?        00:00:00 sshd-session
 431821 pts/3    00:00:00 bash
 431875 pts/3    00:00:02 podman
 431897 ?        00:00:00 pasta.avx2
 431900 ?        00:00:00 conmon
 431902 ?        00:00:00 bash
 432494 ?        00:00:00 btop
 432604 pts/2    00:00:00 ps
As you can see, it’s [a] not that many processes, and [b] you can see btop right there! Going further, we can inspect the tree of processes using pstree
mpwb@orca:~$ pstree -p -u "$(whoami)"
catatonit(430047)

conmon(431900)───bash(431902)───btop(432494)───{btop}(432495)

pasta.avx2(431897)

sshd-session(431356)───bash(431357)───pstree(432704)

sshd-session(431820)───bash(431821)───podman(431875)─┬─{podman}(431876)
                                                     ├─{podman}(431877)
                                                     ├─{podman}(431879)
                                                     ├─{podman}(431880)
                                                     ├─{podman}(431882)
                                                     ├─{podman}(431883)
                                                     ├─{podman}(431884)
                                                     ├─{podman}(431885)
                                                     ├─{podman}(431886)
                                                     ├─{podman}(431887)
                                                     ├─{podman}(431888)
                                                     └─{podman}(431899)

systemd(429961)─┬─(sd-pam)(429963)
                └─dbus-broker-lau(430058)───dbus-broker(430059)
This shows us a few interesting things:
- We can see the current tree, where I logged in via SSH and ran
pstree. - We also see the other session where I ran the
podmancommand. - But outside of that tree, there is a process running something called
conmon, and thenbash, and then we see ourbtopcommand that’s running inside the container. - The container’s
bashprocess is listed as PID 431902 here, whereas inside our container it says it has PID 1. - It also lists that process as being run by
root, while we can clearly see in thepstreecommand above that it is owned by me:mpwb.
What is happening here is that Podman is using features of the Linux kernel to isolate the process we want to run without resorting to a hypervisor to run a complete virtual machine. This allows us to interact with the kernel, and with other devices in a lighter-weight fashion.
It’s not just PIDs and users that get namespaced in this way. Using another old Unix feature, chroot, it is possible to namespace filesystems and directories. This means that the processes in the container are running at /. In a sense, they are! But it’s a different root directory to my root directory. Different container implementations do different things, but Podman actually generates virtual file systems that aren’t accessible on the host without doing a little extra legwork. That legwork is out of scope for this, but I suggest reading podman-mount(1) if you’re curious.
This method of isolation is why I’m so jazzed about Podman’s ability to run containers as unprivileged users. Even if one exploits some issue in these mechanisms to break out of a container, they would still be stuck in an unprivileged account, subject to the standard Linux ACLs, Systemd’s isolation (it uses many of the same features to restrict access to resources in a granular fashion), and SELinux. Above the security benefits, rootless Podman containers allow me to simply organise my services without requiring all of my containers to be in one great big shared namespace.
Considering all this, here’s where I landed with respect to what goes in containers vs. what runs on my host:
- All of my “services” will run in containers.
- Anything that runs software used by multiple services can go on my host.
What are the things that multiple services might use? I’m glad you asked! Right now, it’s a pretty short list. On the default installation of Fedora 42, I have added:
- Podman (duh)
- Caddy
- PostgreSQL 17
- Postfix and OpenDKIM
I’ve also clarified that SELinux, Firewalld, and Socat are all available, and I am heavily dependent on Systemd (as I’ll explain later). There are a few primary motivators for pulling things onto my host:
- Is it convenient and self-contained? I don’t want to have to install a dozen other daemons for something to work. If it’s a single binary with some straightforward configuration, the overhead of installing it outside a container is minimal.
- Is it a database?
- Is it something likely to be needed by multiple services? Caddy and Postfix are perfect examples here. In Caddy’s case, only one thing can bind to
:443on any given interface. For Postfix, networking from containers to other places is really complex. By centralising this on the host, I make one really hard problem into two much more manageable ones. - Can it even be containerised? I am running Samba for Time Machine backups of the household Macs, and placing that in a container is simply not an option.
If you can’t answer yes to at least one of these, then you’re going to go into a container. Currently, between both Orca and Plankton, the following services are running in containers:
- Forgejo
- CoreDNS
- Nextcloud
Plenty are going to be added to that list, but this is enough for me to write up my strategy as something that has been borne out and is working, rather than something purely theoretical.
The last piece of this puzzle for now is Systemd, which I am using to orchestrate my containers. Through Quadlet, Podman integrates with Systemd almost seamlessly. I will be discussing the particulars of this in its own post, but the gist of it is that my contained services all run as user level Systemd units in their own unprivileged accounts. Ansible makes it very easy to configure these, and I’ve gotten pretty handy at writing my own unit files. For services that need cron, I’ve set up Systemd timers within the same account that prod the container with the right command. I mount the ports from the containers at special high numbered ports on the host and listen only on the local interface. These are then forwarded to by Caddy, or socat when I need something non-HTTP.
Bibliography
This really closes the lid on what has been a long and involved project. I may only have an MVP, but it’s terribly exciting to have a working thing! I plan to document a lot of the implementation details. However, to reflect this milestone, and I had to do an awful lot for it, I’ve collected some of the resources I’ve leaned on while doing this whole thing.
- Jeff Geerling’s book Ansible for DevOps taught me just enough Ansible to be dangerous. I read all the book chapters and then skimmed the examples. But I kept coming back to this when I had a question like “What’s the best way to do this?”. Excellent orientation.
- The official Ansible documentation is comprehensive! In particular, I spent a huge amount of time poring over the specifics of the modules I was using to see what I had to set, what I could set, and so on. I have shied away from using any third-party modules so far, so this has basically been all I’ve needed.
- The Podman docs are extremely well-written and fun to read. Very instructive on how volumes and networks mount, as well as introducing me to Quadlet.
- The Podman docs were missing a few of the particulars on rootless containers. Luckily, this blog post by Christopher Smart filled in a lot of those gaps.
- This one page in Forgejo’s docs talks about deploying Forgejo as a rootless image. It wasn’t directly related to Podman, but I’m mentioning it here because it was the key to finally understanding why my volumes weren’t working.
- I wouldn’t have gotten anywhere on this without really getting to know Caddy, especially the proxy and TLS configuration. Their docs, especially the index of directives are a must.
- Here’s a nice page from Let’s Encrypt about TLS challenge types, which gives an exhaustive and authoritative list.
- I don’t think I’ve ever read anything by Dennis Ritchie that I didn’t adore, and this essay on The Evolution of the Unix Time-sharing System is no exception. An extremely readable early history of Unix that I referred to in order to shore up my historical notes.
- The iconic 2018 article C Is Not a Low-Level Language was my introduction to the idea that computers were lying to us all the time, and if you haven’t read it, I’d still recommend it today.
All in all, this has been so much fun. I’ve learned a crap-ton of new stuff, in addition to formalising and strengthening a couple decades’ worth of intuition and experience, and modernising a load of old server knowledge. I’ve already moved all of my stuff out of iCloud Drive, and I can’t wait to continue picking the low hanging fruit as I move towards freeing myself from the rent-seeking ghouls in Silicon Valley.
In a more general sense, I’d like to praise the idea of having meaningful projects, too! I’ve read three books to get this finished. Three books that I wouldn’t have otherwise read, which isn’t even to mention the reams of documentation I’ve pored over. It’s nice to be invigorated about technology again, especially with everything the way it is these days.
If you’ve joined me for all or part of this journey, either contemporaneously or after the fact, thank you! I hope it’s been as fun for you as it has been for me.